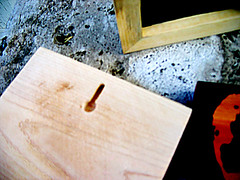
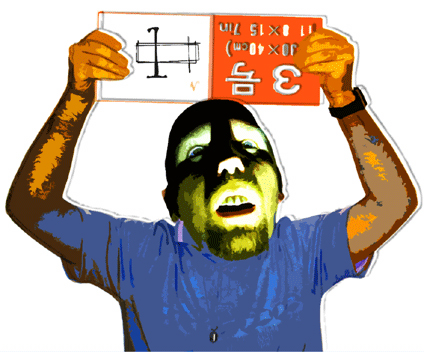
My brother, Dan, will bust my chops for this lousy photo with all its wonderful blur, but we don't all own a DSLR. (Is that a good enough excuse? And hey;
unsharpen mask can only take you so far in PS.) This is the only look I have to show you of the new routered keyholes I make for the back of these tablets. These will be the first items I list on
etsy. I can make them inexpensively as well as quickly.
My good friend,
Tyn, dropped by my place to see what I'd made of the wood shop and to go over some art projects with me. She's had her
etsy shop running for a while now. It's funny how ideas jump out as us. Soon after offering her some extra Plexiglas (
that's no typo!) I had lying around, we started talking about how it can be scored and snapped to the correct size or even cut on the table saw. Someone had told me to reverse the blade on my saw in order to not scorch the plexi. Meh! Sounds like too much trouble; so we cut away and everything went fine. It does get a bit messy, though, with the extra stringy plastic. No problems cutting the sheets down to size with the chop saw, either.
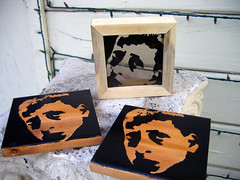
We had already printed a stencil or two and decided to try acrylic paint on the plexi. The result was acceptable, but could be made even better if we thicken up the paint. We tried working quickly to construct a frame. BTW, sawblades leave a grove that is the exact thickness of plexi or regular glass sheets. We ran in to a few problems when trying to nail the mitered corners. Later that night I solved the problem by purchasing a
band clamp. (Yes, I was the funny man walking around Home Depot saying to himself,
"This one time, at band clamp . . .") In this way, I only had to glue up the corners and clamp the entire frame without using any nails. The glue sets up in about half an hour. Again, we used the keyhole router bit to easily make this frame ready for the wall. All this quick work means I can try and get a fair price without running myself ragged.
Tyn, your frame is ready; come and get it!
